“Domain and Hosting Manager” Documentation by “ErdSoft” v1.0
“Domain and Hosting Manager”
Created: 07/12/2013
By: ErdSoft
Email: daniel.erdudac@erdsoft.com
If you have any questions that are beyond the scope of this help file, please feel free to contact me on the email address on the left or email via my website contact form here. Thanks so much!
Table of Contents
A) Overview - top
The system was made to give webmasters an easy to handle and clean overview of how much income or loss they have from providing hosting.
It is made up from four modules and each of them handles different tasks. One for creating, modifying and deleting domains, one for creating, editing and deleting servers, one for income calculation and one which can change the login details of the system. The webmaster also gets an overall status of his servers on top of every module.
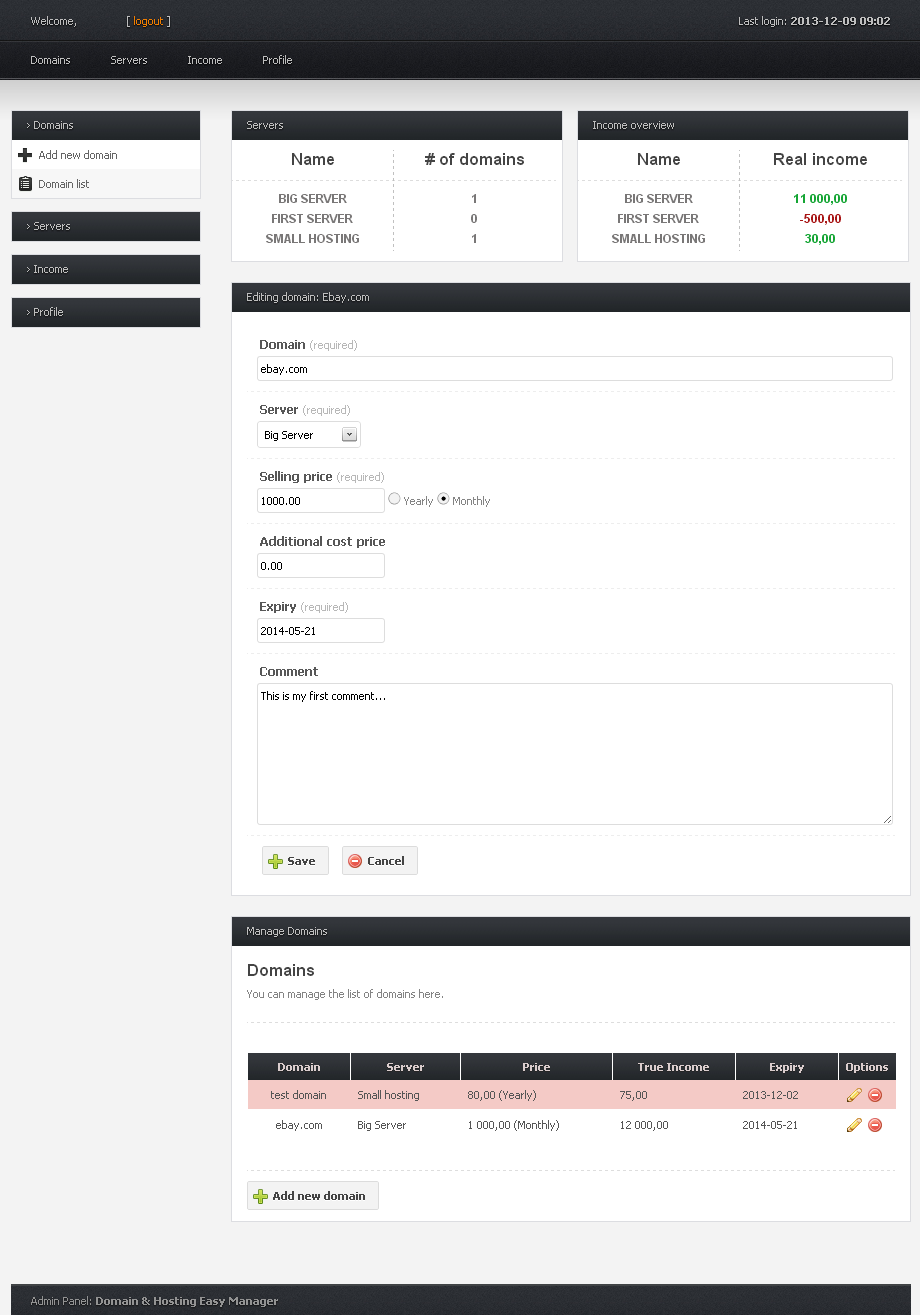
Domains: You can create new domains, edit them or delete them in this module. In edit mode, you have real time error checking to make sure you don`t mistype something or leave out some required info about the domain. But if you have javascript disabled by some reason in your browser, no worries. The same process is also done on the server after submiting the data. Beside the usual properties, you can set the price to be paid on a monthly or yearly basis. You can also set the expiration date of the domains, and also write up extra notes in the comment field.
If your domain is about to expire in a given number of days (configurable in the profile module) it will be marked as a yellow row in the list of domains. If a domain already expired or expires today it will be marked with red in the list of domains.
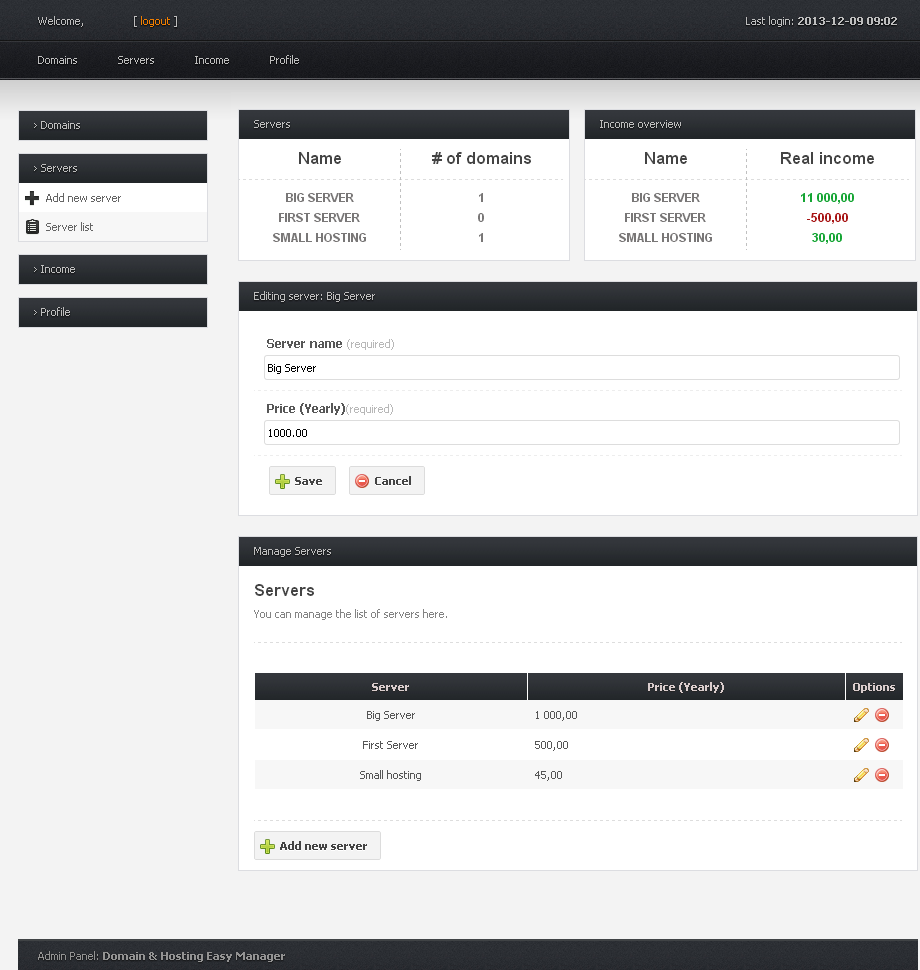
Servers: You can create new servers, edit or delete them in this module. You have the same error checking in this module too. You can set a name and a price for the server.
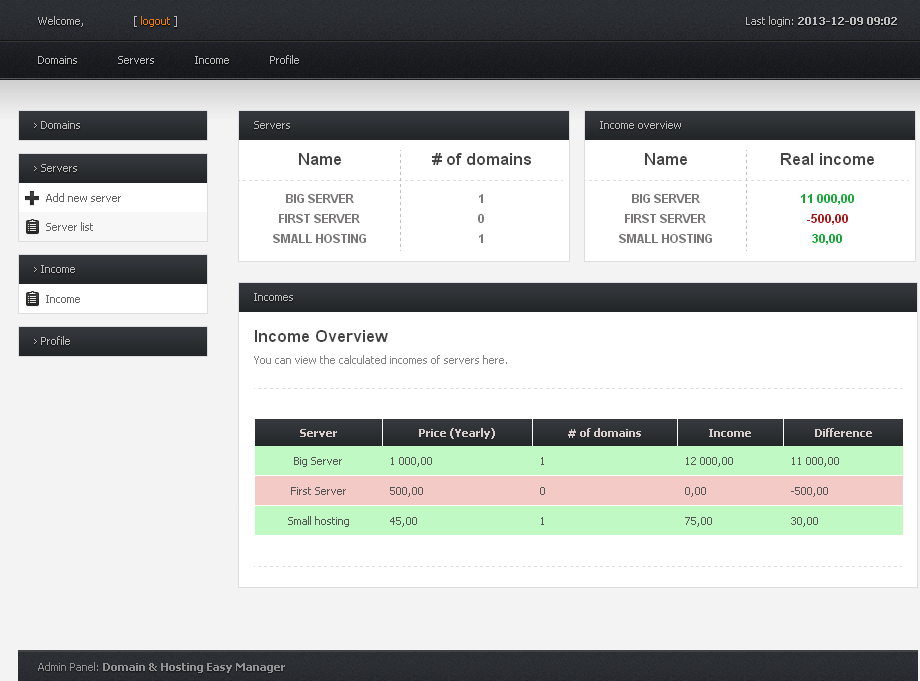
Income: You can see the calculated incomes of servers and the difference between the income and the server`s price to get the actual real income (or loss in worse cases). The system marks the profiting servers with a green background and the ones which produce losses with red for easy identifying of problematic servers.
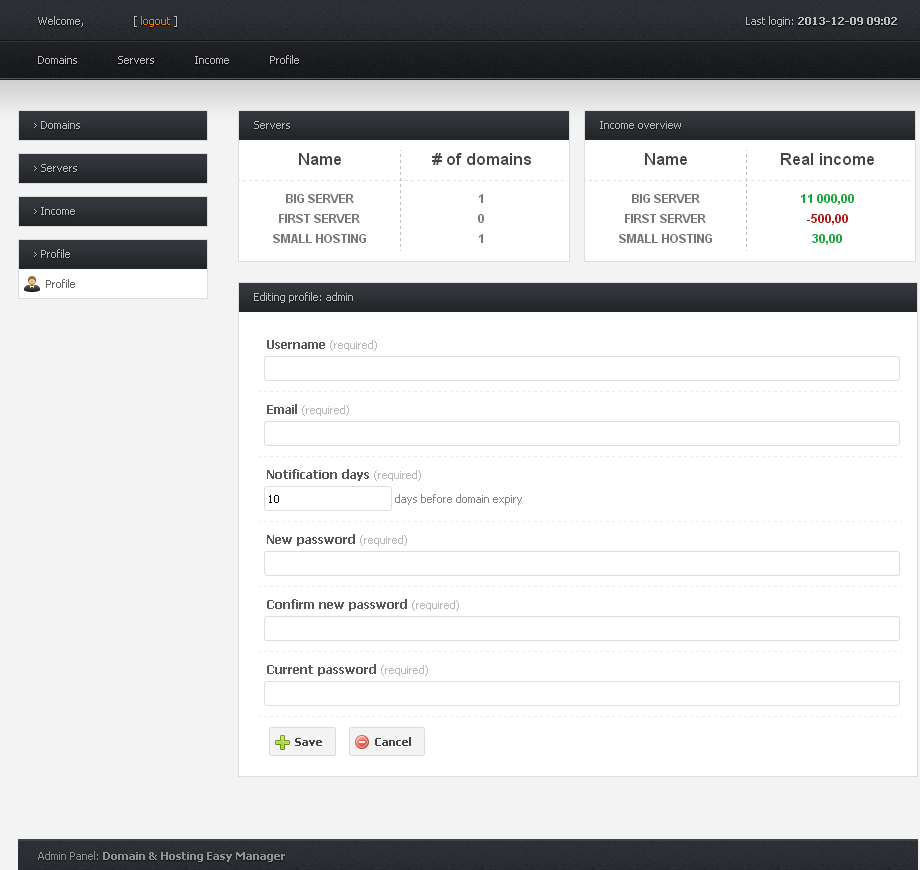
Profile: You can change the login details and some general settings of the system here. Note that you can`t change anything without entering the current password.
The Notification days setting decides when you get notifications about expired or soon to be expired domains on the email address you provide in the Email field. There is a cron file in the "cron" folder named "expiration.php" which should be run once every day in order for this to work.
B) Installation - top
Files: Unpack the zip file and upload the files to your server.
Database: The database connection configuration is in the file named "connection.php" which is located in the "includes" folder. Create an empty database with a database user (must have privileges to create tables) associated with it. Edit the "connection.php" file so that it contains your database connection details and save the file.
    $host="localhost";
    $user="YOUR_DATABASE_USERNAME"; // database user
    $password="DATABASE_PASSWORD"; // database password
    $dbname = "DATABASE_NAME"; // database name
Running the install script: All you have to do is navigate your browser to the path you uploaded the package files to. If you uploaded it to your root directory you must navigate to "www.yourdomain.com/index.php". If you uploaded it into a subfolder in your root directory, you should navigate to "www.yourdomain.com/subfolder/index.php". The script will check if you installed the tables already or not. If not, the tables will be created. If you see a success message, you can click to the link "Back to the site".
The install script makes a default administrator for you with the username "admin" and password "admin". Use those details to login to your board for the first time. Don`t forget to change the login details once you are in the admin panel.
You will also notice a message saying "Please delete, move or rename the file 'install.php' on your server". It will be there until you do what it says. So go ahead and do either one of the suggestions in the message.
After that, you are ready to use the Domain and Hosting Manager.
C) Configuration - top
Database: The database connection configuration is in the file named "connection.php" which is located in the "includes" folder.
Notifications about domain expirations: You must run the file "expiration.php" in the "cron" folder once every day as a cronjob in order for this to work. If you don`t care about notifications, just don`t set up the cronjob.
Nothing else to configure, really.
D) CSS - top
The system uses the following css files:
- login.css
- style.css
- navi.css
- jquery-ui-1.10.3.custom.min.css
All of the above files are located in the folder named "css" which should be in your root directory.
- This file contains the styles needed for the login page.
- The main and generic css rules are defined in this file.
- Styles for the header navigation menu are placed in this file.
- The CSS file which contains the styles for the jQuery UI components, such as the datepicker or modal dialogues.
E) JavaScript - top
The system uses 3 main javascript files:
- jquery-1.7.2.min.js
- jquery-ui-1.10.3.custom.min.js
- init.js
All of the above files are located in the folder named "js" which should be in your root directory.
- The main jQuery javascript file.
- The jQuery UI javascript file.
- Contains custom helper functions.
Basically, javascript is used in 3 main places. Hiding the sidemenu lists (except the selected menu), real time checking in editing mode of the domains and servers, and during the delete confirmation modal.
F) PHP Code Explanation - top
All the PHP codes were developed and tested with PHP version 5.3.8. The system is written in procedural style and uses mysql to communicate with the database.
The system loads modules based on the "$_GET['module']" parameter it gets. We use a whitelist approach to decide which module is a valid one. If it is not on the whitelist, the user is presented with the home page of the admin panel, or - if he is not an authenticated user - a login page.
The domains and servers are saved in a database and linked on one field to get which domain is on which server. The incomes are calculated based on this link.
G) Sources and Credits - top
The system uses the basic jQuery plugin and the jQuery UI plugin:
As I said at the beginning, I'd be glad to help you if you have any questions related to this system.
ErdSoft